How to Paint an Interior Door
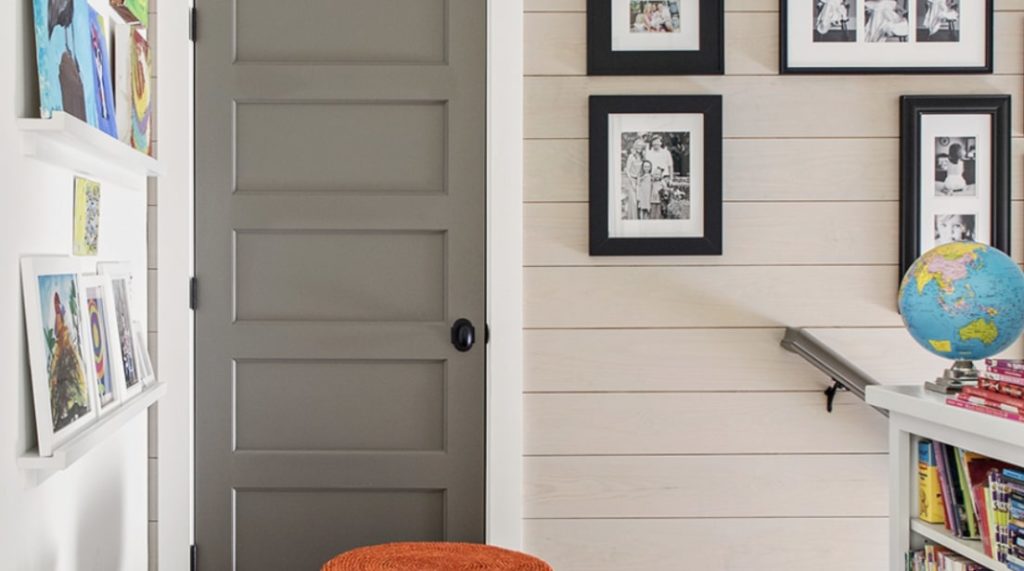
Finally think of painting your door? That’s great since you can make it look stylish which will also enhance the appeal of your house’s interior!
But, before we get started, you gotta know how to paint an interior door the right way. And this is what our guide today is for.
Keep on reading to know how!
Painting Supplies and Tools You Will Need

Gather all the materials you need first so you can paint without interruption. Here are the painting supplies and tools required for the job:
- Screwdriver or cordless drill
- Utility knife
- Nail
- Hammer
- Drop cloth
- Sanding sponge
- 4-inch foam roller
- Primer (optional)
- Interior acrylic latex paint
- Paintbrush
- Paint tray & liner
- Tack cloth
- ShopVac
How to Paint a Door by Removing It

Painting with a removed door offers a lot of benefits. For example, you’ll be able to paint otherwise inaccessible edges like the bottom side and most of the paint won’t drip on the ground.
Now, here are the steps to take for painting an interior door that’s removed from its place:
1) Remove the Door
Start by tapping out the pins on each of the hinges with a sharp nail and hammer. This drives the pin between the hinge upwards.
Then, push out the pin with a flat-head screwdriver until it comes off and remove it by hand. Then repeat for the other hinges of the door on the same side.
You should now be able to remove the door. So slightly lift it and prop the door to a nearby wall.
2) Take Out the Other Door Parts
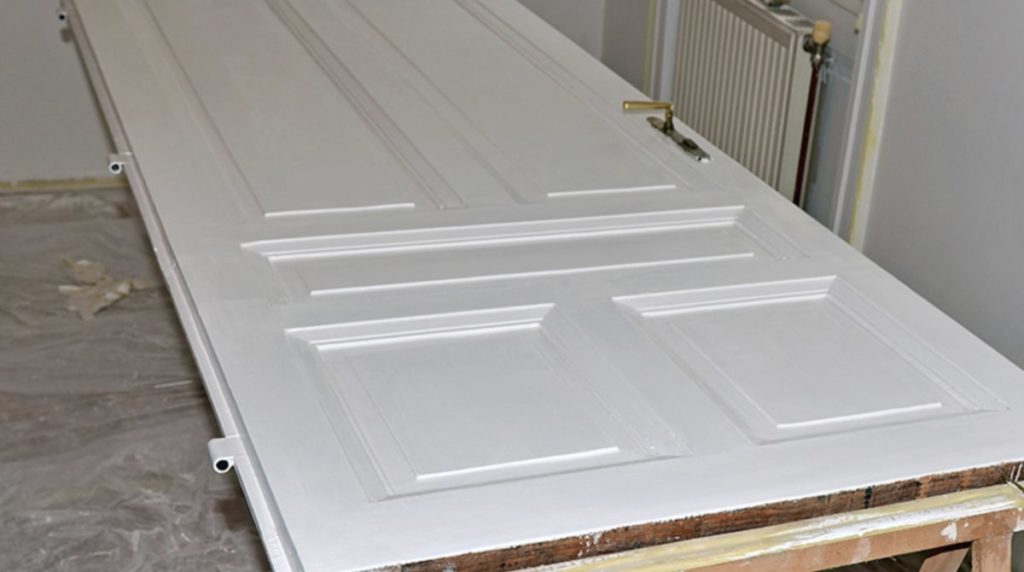
Place the door flat on a sawhorse. Dismantle the rest of the parts, including the hinges, rectangular doorknob, lock, hook, rose cover.
3) Polish the Doors
Using a sand sponge, proceed to polish the door. Sand lightly and carefully from one surface to another, including the front, reverse, upper and lower edges of the door.
If you have applied a primer on the door, you should even be more careful with sanding the door. Otherwise, it may scratch or unlevel the surface which will be painted on.
4) Clean the Door
Vacuum off any dirt and debris on the door and floor. For other loose particles, wipe them off with a tack rag.
5) Paint the Door’s Edges and Panels
It’s time to paint the door’s edges and panels. Dip the brush with a sufficient amount of paint so painting a surface will be level and smooth.
Also, skip the notches left by the hinges because this will affect the door swing when the painting has dried.
6) Touch Up the Door
After you have painted the door, follow up by foam rolling the surfaces to make the paint flawless. While you’re at it, also fix and touch up missed or paint-dripped areas.
7) Do a Second Coating
Let the paint dry for about two hours and apply a second layer of paint. This allows the paint to become brighter and longer-lasting as opposed to if you only do one coating.
8) Paint the Other Side of the Door
Alright, one side is already finished. But, before you turn over the door to the other side and paint it, give it a day so that the paint won’t be damaged under pressure.
Then, repeat the same painting procedure we mentioned above.
9) Replace All Door Hardware
All the door’s components must be replaced so they’re all new and durable. Once done, slide the door back into the frame and hinge and put back the pins to where they were before.
How to Paint a Door Without Removing It

If you’d want to paint without detaching the interior door, it’s pretty much the same process. You just need to tweak it a little for the best paint results.
This is definitely the mode you should choose for heavy interior doors, such as a security door, for instance.
Follow the steps below for this method for interior door painting:
1) Remove the Door Parts
Using the screwdriver, remove these door components: rose cover, faceplate, doorknob, hook, and lock because they won’t be painted. Also, leave the hinge as is because you won’t remove the door.
2) Place a Drop Cloth Against the Door
Open your door to about halfway. Then, place a drop cloth under the base of the door to protect the floor on both sides from paint drips and debris.
Keep in mind that the cloth should extend a few feet beyond the door for great coverage.
3) Jam the Door
Before you paint, the door has to be kept steady at all times. For this, put a small towel underneath the base of the door.
Following this, test the door by pushing or pulling it a bit. If it moves, adjust the towel or other cloth under the door.
4) Tape Over the Hinges
Cover up the hinges with painter’s tape to shield them from paint drips. Use a utility knife to cut each piece of tape you use.
5) Paint the Door
Finally, you’re now ready to paint the door. Here are some great tips and reminders to note:
- Paint will tend to drip since the door is in a vertical position, so make sure to touch up or wipe off the affected surfaces when that happens.
- You can paint the other side of the door as soon as you’re finished with the first.
- Take care in painting the hinges to prevent an unnecessary layer of paint that can affect the door swing after painting.
- You don’t have to paint the bottom edge of the door.


